


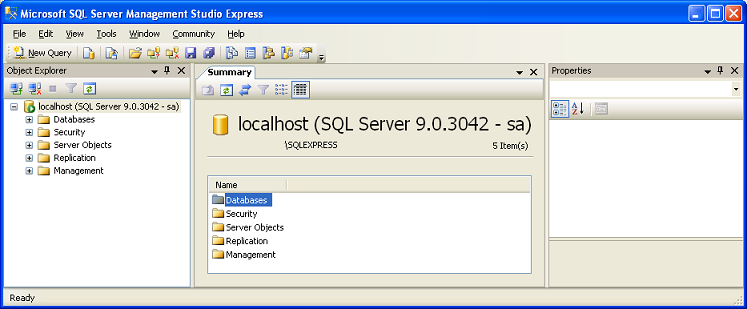
The Microsoft SQL Server Management Sutdio Express Window
The databases tree you've seen in the previous tutorial. We'll skip that for now (we'll come back to it). The next branch is the security branch. Go ahead and expand it. If you open up the Logins list, this is the list of users that can log into the system. You should see sa as well as various other default options. Go ahead and right-click on Logins. Choose New Login to create a new user.
The Microsoft SQL Server Management Sutdio Express Window
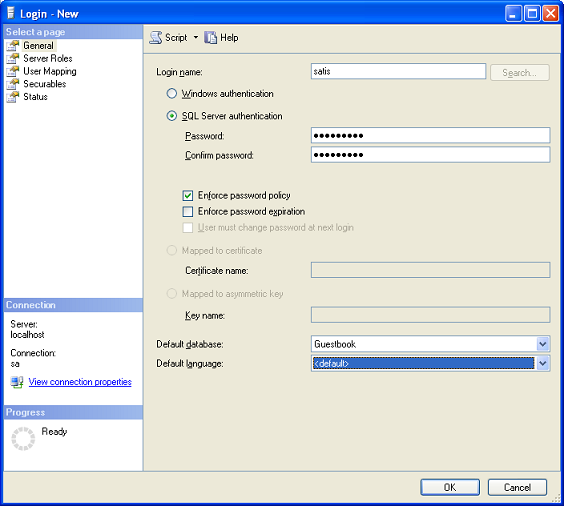
The Login name at the top is the username you want. Be sure to swap it to SQL Server authentication and put in a password. You could use Windows authentication if you wanted to, but that would require either local Windows users to be set up or a full domain. That is certainly beyond the scope of this tutorial. You may have noticed I unchecked the "Enforce password expiration" checkbox. I've created the login 'satis' to be used by a web page. For a web page, you don't ever want your password to expire or the whole page will just stop working. Further down you'll see the default database. This is the database that the user is automatically connected to. A single user can have access to more than one database, this drop down just shows which database is 'active' when the user logs in.
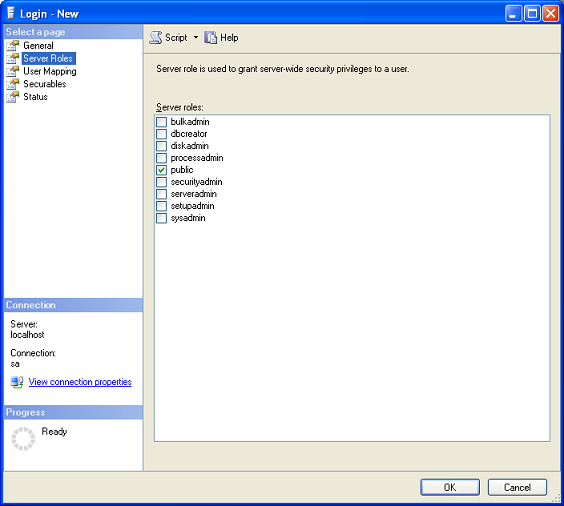
Server Roles
The server roles tab allows you to assign one or more server-wide roles to your user. Public is enough for most accounts. In some cases you may want to give a user specific rights so they can perform specific functions without giving them the ability to completely control the server. In most cases you'll never really need to use this unless you're in a large, multi-user environment (like a corporation).
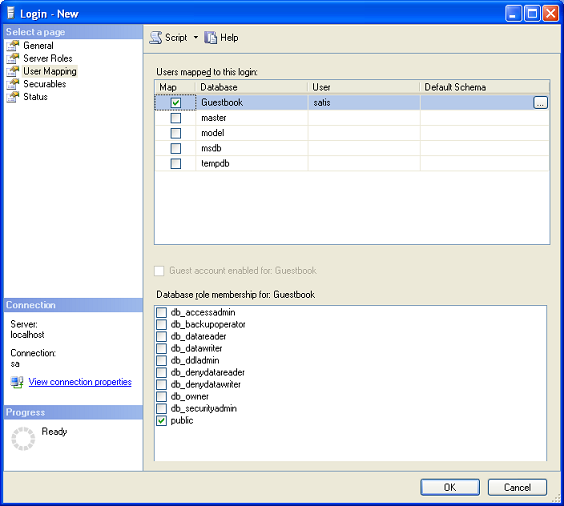
User Mapping
The user mapping tab allows you to map a user to a specific database and give them rights to that database. This can actually be useful. You can create a user whose only ability is to read data (datareader role). Remember the SQL injection we were talking about last tutorial? If someone performed a SQL injection using an account with only datareader access, they couldn't damage any data on the database, they could only read it. You could, for instance, have an account that can only read data, another that can only write data, etc. Then in your web.config file you'd have a different connection string for each type.
A typical implementation (in my experience) will have a user that the website uses that only has datareader and datawriter rights. This lets them insert, delete and read tables but doesn't allow them to do anything extremely destructive. Another account is created for the website admin that has all the rights he would need to build the database. The admin account is never used by the web application. This isn't perfectly secure by any means, but it's better than using sa for everything. For further information about server roles, check out this article on WindowsSecurity.com.
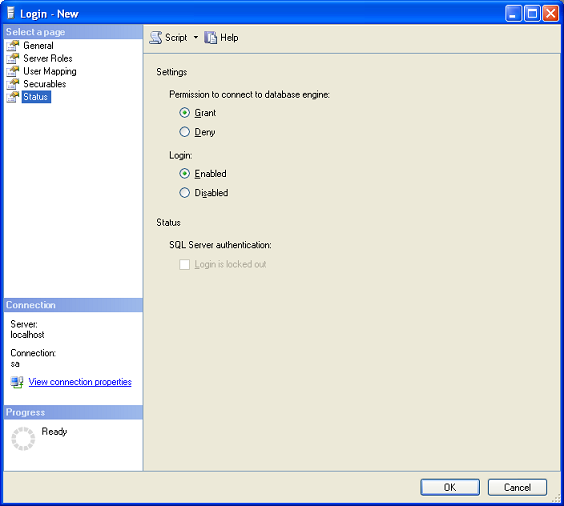
Status
The status tab lets you disable an account. That's basically it.