


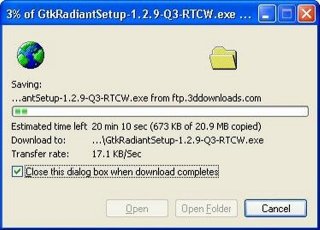
The first thing we need to do is download the program. GTKRadiant is available from www.qeradiant.com as a free download. Go to the files section, then the GtkRadiant folder. The linux and windows programs should look the same, but since this tutorial was made on a windows machine, I'll assume that's the version you're going to use as well. In this case, I download GtkRadiantSetup-1.2.9-Q3-RTCW.exe, which is the full 1.2.9 binary download for Quake3 and RTCW (Return to Castle Wolfenstein). We don't care about RTCW, but this is what we need.
Download gtkradiant
Once you have the file downloaded (a mere 20.9MB), doubleclick on it to install the files. The default install directories should be fine, but you should use common sense, of course. If you have multiple installations of Quake, or if you installed it somewhere other than the default installation directory, you will need to make the appropriate changes. All this is elementary, however. Once the program is installed, the fun begins.
Feel free open the program. You should be confronted with something similar to the following picture.
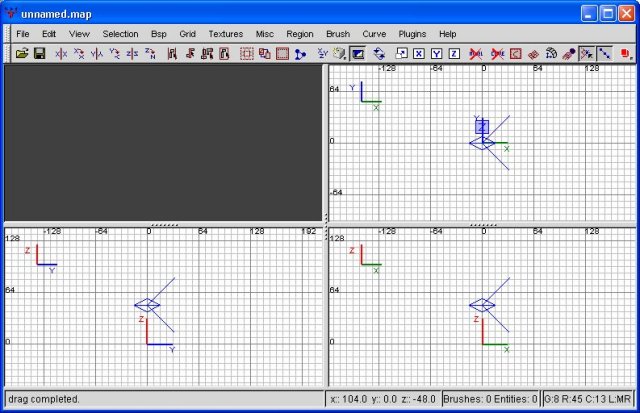
A new copy of gtkradiant
If you don't see this exactly, not to worry. Follow these steps to configure GTKRadiant to appear and operate like mine (which is, of course, superior to every other possible way). :) Go to edit, then preferences, and in the list, under Interface, click on layout. Set your layout as mine is... I prefer this to the other layouts for ease of use.
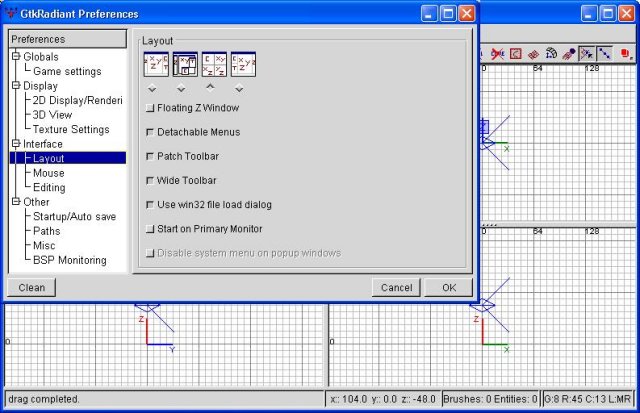
The preferences layout screen
Next, let's go to the Other category, under BSP Monitoring. I typically set it to the following values when first building a map, then turn off "run engine after compile" once the map gets past a certain size. First, the screenshot.
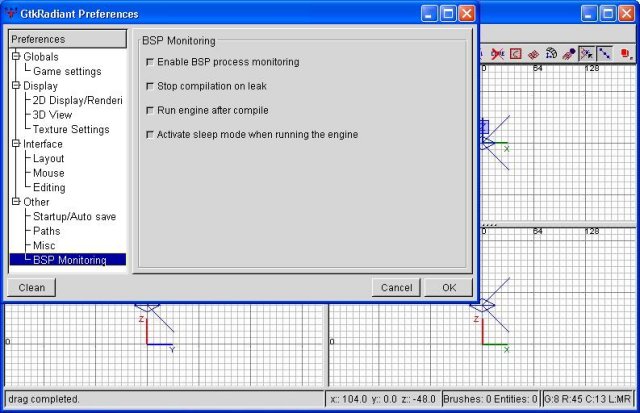
The BSP Monitoring preferences
We always will want to enable BSP process monitoring. I believe this spots potential errors in the BSP compile process. Ditto with "stop compilation on leak". Leaks will be your number one foe in building a map. We also have "run engine after compile" checked... that way, whenever we compile a map, it will automatically launch quake and load that map, so we can see what we did. This is very handy in the first stages of a map, so that you can make sure the proportions and sizes are all correct. After a map has gotten big enough that will no longer be necessary as you'll get a feel for it. However, at least for me, I need it during the early stages of all my maps. Finally, the last option is "activate sleep mode when running the engine". This puts GTKRadiant into sleep mode, which basically stops the program from eating up system resources. On a previous version of GTKRadiant, having that option enabled would cause GTKRadiant to never wake up, but that issue appears to have been addressed in the current version. If you have similar issues, you may wish to unpush that button.
One final thing. Still inside the preferences, go to interface, then editing. Within this dialogue, we need to make sure that 'clipper tool uses caulk' is depressed. This button will cause the clipper (which we will get into in tutorial 3) always uses the caulk texture. What does that mean? Well, have a bit of patience, it will all be explained.
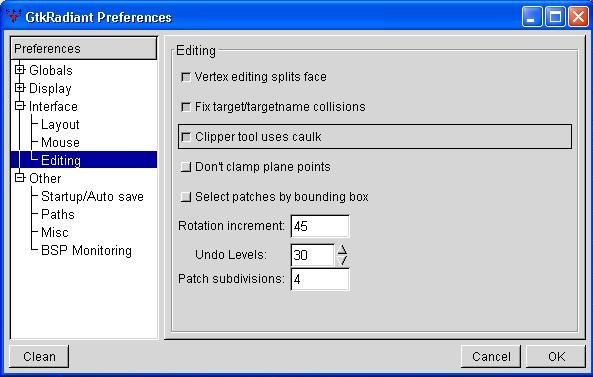
Clipper tool needs to use Caulk!
Excellent, the internal configurations for GTKRadiant are complete. At this point, we'll need to download one last file, in this case the entities.def file made specifically for WFA. The file is available here:
Entities.def
Once you have downloaded this file (you may have to right click and choose the "save as" function) move this file into the appropriate folder. The WFA website lists this folder as the "QERadiant folder". Unfortuanetly, this is incorrect. The folder it needs to be in to work properly is "C:\Program Files\Quake III Arena\baseq3\scripts", or the equivalent if you installed it in a different folder. To verify it's all set up right, reopen GTKRadiant now and right-click on one of the white areas. If "dom" is one of the categories that's selectable, the entities.def file is correctly installed. What this does is allow access to the special WFA-only entities the coding geniuses behind WFA have designed for us mappers to utilize.
And that, my friends, is that. The first tutorial is done. The next tutorial will focus on using the actual program to build your very first room, which we will transform into our spawn room. Yeehaw.