Urban Renewal
9 May 2008 @ 09:33AM

Updated: 25 Jan 2010 @ 09:33AM
Our code works, and it's pretty cool, but you have to admit that the page is ugly. Not just a little ugly, it's absolutely hideous. So I'm going to make a series of changes to make it a bit prettier. This is mainly going to be html/css stuff but it's just as important as the code in the backend. After all, if your page is ugly as hell, will anyone use it? Well, maybe, but still, pretty pages are happy pages.

First I'm going to add a new folder in our soluton explorer on the top right. I'm calling it css and putting my css file in it. To create a folder, just right click on the heading of the tree (mine reads http://localhost/guestbook) and click New Folder. After renaming it to css, right click on the folder and click Add New Item. You'll have a list of various items you can add. I'm adding a Style Sheet.


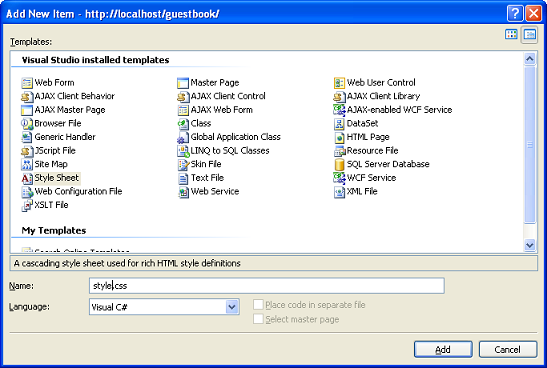
Adding a Style Sheet

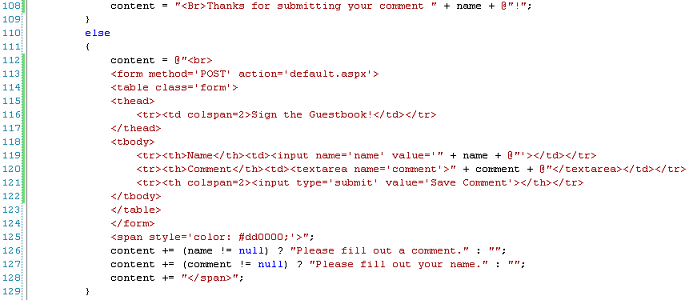
It should automatically open itself. Now type out your styles. This isn't a CSS tutorial so I'll leave it up to you. I typically use Notepad++ to write my CSS but you can certainly use Visual Web Developer to do it if you want. I started by adding my stylesheet into my header() method, adding a class to my body tag, adding a header, and making a div to enclose all my content in. You can see that here.


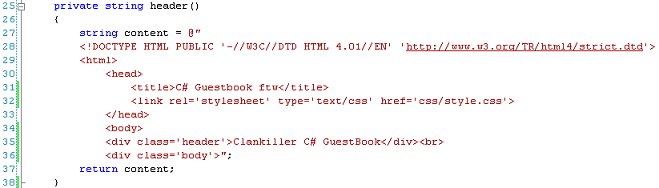
Styling the Header()
Comments (0)

Styling the showComments()

On line 60 I've created an integer called row and set it to 0. If you look down to line 69, you'll see that I do row++, which means row = row + 1. So basically, every time a row is written out, I add 1 to the row variable. On line 63, I create a string called style. If row % 2 == 0, I set style to be "even", otherwise it's "odd". You may not be familiar with the modulus operator (%). Basically I take row, divide it by 2 (the number to the right of the modulus) and then I take the remainder. If the remainder is 0, then row must have been even. Using this method I can alternate the style on each table row.

On line 65 I've got a code snippet that reads Convert.ToDateTime(dr.GetValue(2)).ToString("MMM dd yy, hh:mmtt"). The value dr.GetValue(2) is our date, but I don't like the way it looks by default. I convert it to a DateTime variable (using the Convert.ToDateTime() method), then I convert it to a string (using the ToString() method). All those arguments inside the ToString() method tell ToString() how the date should be formatted. I'm using "MMM dd yy, hh:mmtt". This means 3-letter Month, 2 character day, 2 character year, the hour, a colon, the minute, and then am or pm. In other words, it'll show up in the form of Apr 23 08, 08:45AM.

For a great page on these formatting commands, check out stevex.com's blog. You can use ToString() to format more than just dates, but mainly I use it for dates. Feel free to use the various formatting commands on this page to adjust the way your date/time is displayed on your page.

I also converted the date cell to a th instead of a td for styling purposes. Next I'll make some changes to the form() method.
Comments (0)

Styling the form()


I've taken a screenshot of the parts I've changed. Basically it's all html and css. For the 'Thanks' part I've trimmed it down just to show "Thanks for submitting your comment..." without echoing their comment back to them. The form table, meanwhile, I've altered to be more friendly looking. However, there's nothing new here from a C# perspective.
Comments (0)
Finally there's the footer() method. Basically all I had to do here was close my div body tag. And voila, we are done. That wasn't so hard, now was it? Congratulations, if you've made it this far, you've just completed you first bonafide C# web application.


It's So Beautiful

I'm going to include all my finished files in a zip file. That way you can look over my code and my css to see how I did it all. Enjoy!

The completed project [guestbook.zip]
Comments (0)