


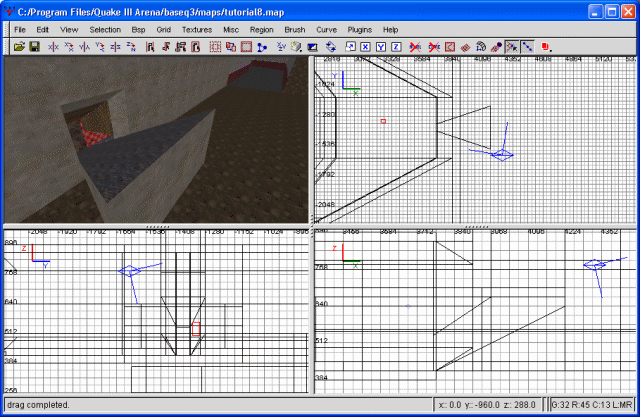
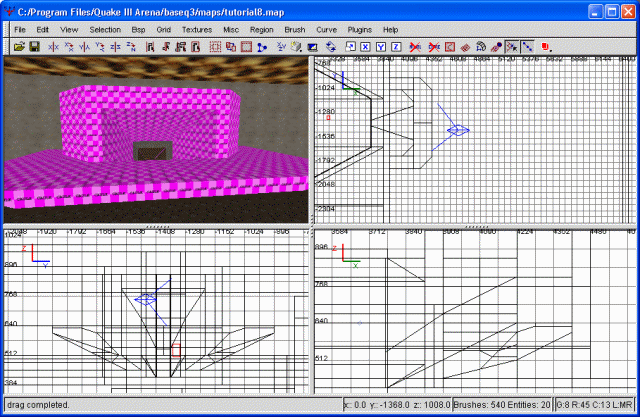
The sniper balcony continues to form
As you can see, I already textured it. This was mainly so I could compile the map and take a look at its comparative size and height. So far, I'm quite please with it. But we're not done yet.
Next we're going to draw out the floor of the actual balcony. I just drew it as a simple block at first, dropped entirely to the midfield ground. I plan on doing some clipping in a bit, in case you're wondering why. Now, this isn't much of a balcony, if it weren't obvious. We need some walls enclosing the balcony passageway, and some more detail. Let's begin with the walls.
The walls I've drawn out so they fill the space between the midfield wall and the balcony floor. I've extended these from the ground up to nearly the sky, though they'll be clipped eventually. I then clipped them (from the top view) so they conform to the shape of the balcony passageway. Allow me to share another screenshot with you.
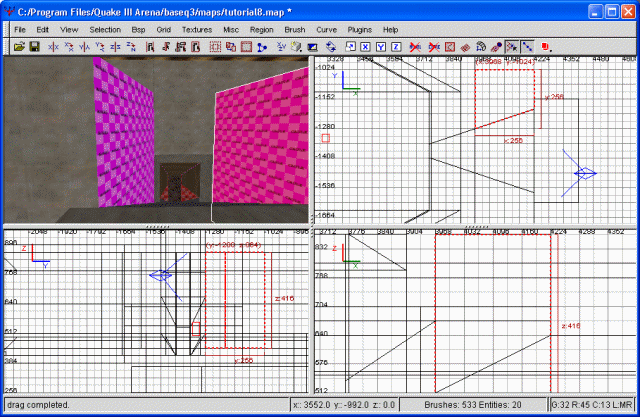
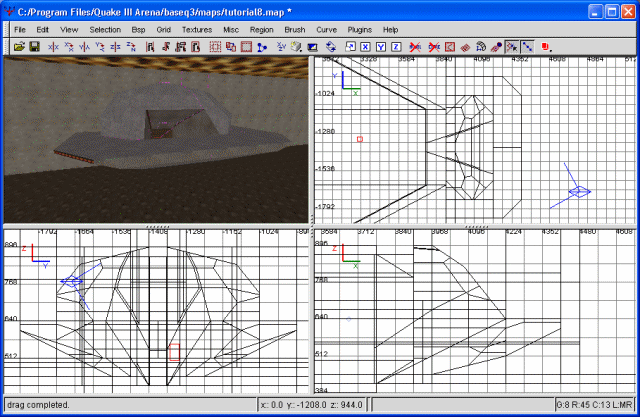
The beginnings of some walls
Alright. What next, you may ask. Next, I'm going to clip our newfound passagewalls at an angle on the outside. I've decided our balcony will wrap around the passage. Next I'm extending the front balcony, then drawing entirely new brushes to complete the wrap around effect. I'm also clipping the edges of the front-most balcony to create a more rounded look. Though it was only a couple sentences, I believe this last paragraph deserves another screenshot.
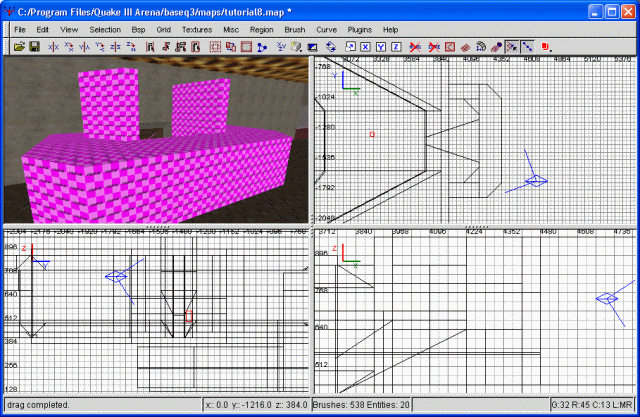
The sniper balc is starting to almost look cool
Excellent. Our next step is purely cosmetic. I'm taking our entire balcony and then clipping it to create a more dainty balcony effect. Basically, I started with the front and clipped it at an inward angle. I then did the same with the sides, and finally with some three-point clipping for the edges. I'm only dealing with the bottom half of the balcony, since we're still not really done with the passageway. I've also caulked everything, to avoid the possibility of forgetting some hidden textures later on. Despite my settings, it seems radiant enjoys applying textures to hidden areas after I clip. By clipping purely caulked brushes (or caulking them afterward) it'll help avoid this eventuality.
The specifics of how you clip the balcony at this point don't really matter. We've done enough clipping that the process should be easy enough by now, and all I'm trying to accomplish is a more pleasing shape. However, for you edification, this is what I ended up with.
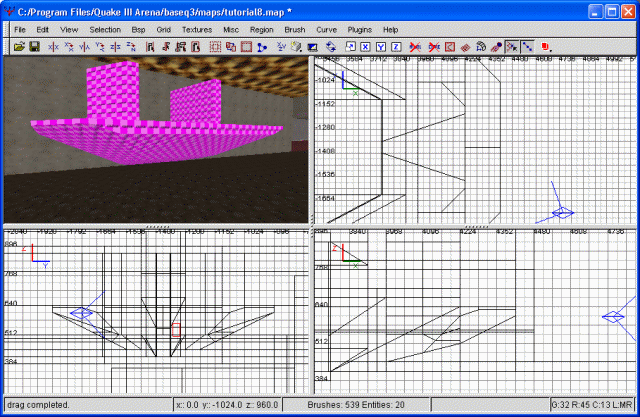
A clipped balcony
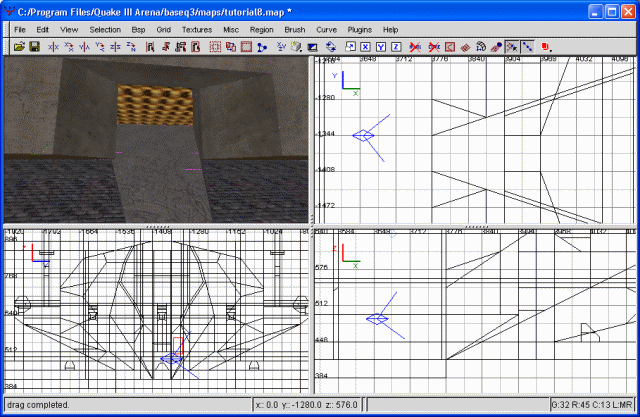
Great, let's finish this thing up, shall we? The next thing is to finish up the entry passage. I'm drawing out another square brush to fill in the space between our two side walls and the balcony proper. This brush begins where our midfield wall ends. Next we're clipping the sides (using the top view) to fit the space properly. All these things have been predefined for us, so it's just a matter of filling in the blanks.
With the sides clipped, we're going to clip the passage slope. We could continue it at the same slope as the previous passage ceiling, but I think that may be overkill. Instead, I'm clipping it to be roughly parallel to the floor of the passage.
The passage ceiling
At this point, I'm selecting the sides of the passageway, as well as the top, and stretching them out until they meet the sky. This will give me more material to work with so I can shape the passage some more. Right now, though the balcony itself is good, the top is still awfully square.
The first cut I'm doing is extending from the front of these brushes (where they intersect the actual balcony) and slope backwards until it intersects the midfield wall. Following that, I'm clipping the sides. The end result will be an entrance that seem to flow out of the wall, instead of jutting out. As stressed earlier, precisely how you accomplish this doesn't really matter. I've taught you all I know about clipping, so there's no point in covering all the finer points ad nauseum.
All that remains now is clipping everything involved to eliminate overlapping/hidden textures, and then the actual texturing. This, unfortuanetly, becomes a bit more difficult considering the complexity of our balcony. If you break it down into parts, what starts as a daunting task just becomes time consuming. Personally, I started with the balcony itself, clipping the walls of the passage. Then I started on the midfield wall, taking it peice by peice from 'bottom' to 'top' (as viewed by the top view). Anywhere that a plane changes angle, I clip the wall vertically and then clip it to fit that small portion.
Though it only took a paragraph to say, it took me a while to actually do this. However, it really is easy if you take it one step at a time. After clipping everything, I then textured EVERYTHING caulk. With the sheer number of brushes in here, it would be far too easy to overlook an overlapped/hidden texture. Then I textured everything, peice by peice. If there was any doubt in my mind if I'd clipped that brush, I would select the full brush and see if the face I was about to texture extended behind another brush. If not, I textured it. Otherwise, I'd clip it and then texture. Though time consuming, this is probably the best possible way to eliminate any hidden textures.
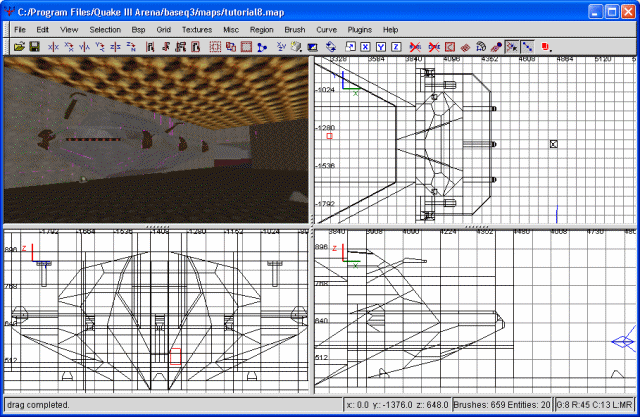
Nearing completion of our balcony
Only a few more things. First, I want to put a railing around the balcony. Though a solid brush would function, I'm going to be a bit more complex than that. The railing itself will be small and set above the floor by a fair distance (though not enough to keep people from jumping over it). Then I'll make small braces 'holding' it to the actual balcony.
Once more, precisely how you manage this is up to you. I decided to get fairly complex, with the resulting complex cleanup of clipping and caulking. A pic of the result will follow shortly. However, while we're finishing up, you may have noticed things are a bit dark, as well. I'm going to throw in some lights to alleviate that issue. I'm putting some below the balcony, as well as some on top. This should brighten the area up considerably.
Adding lights and railing
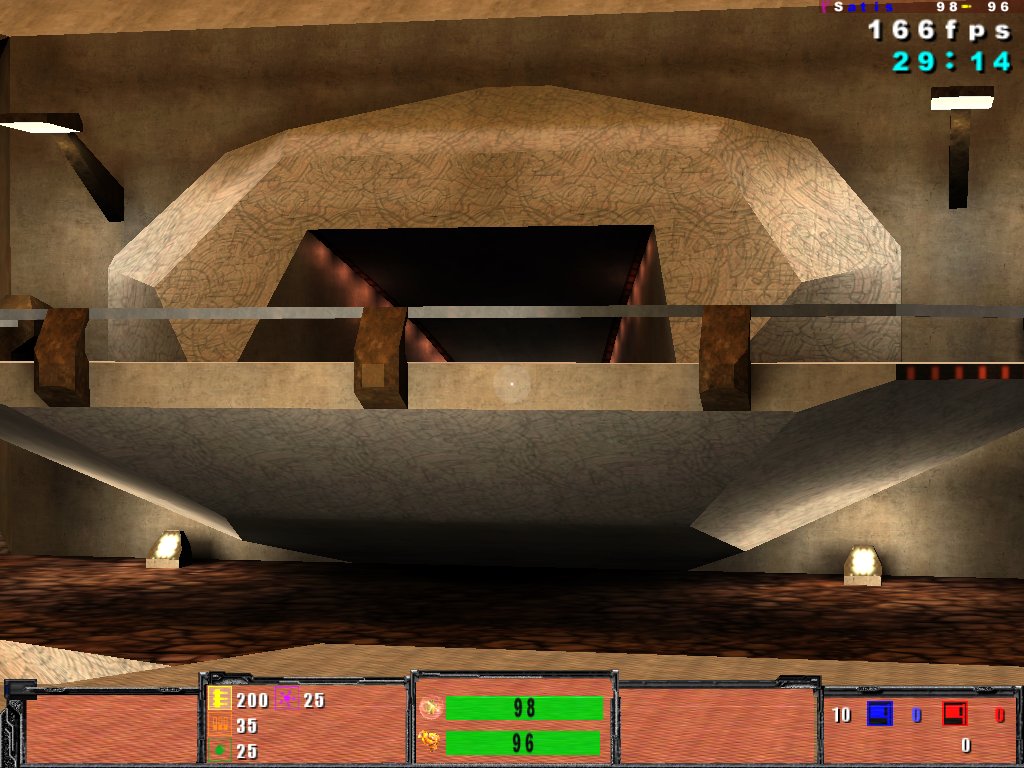
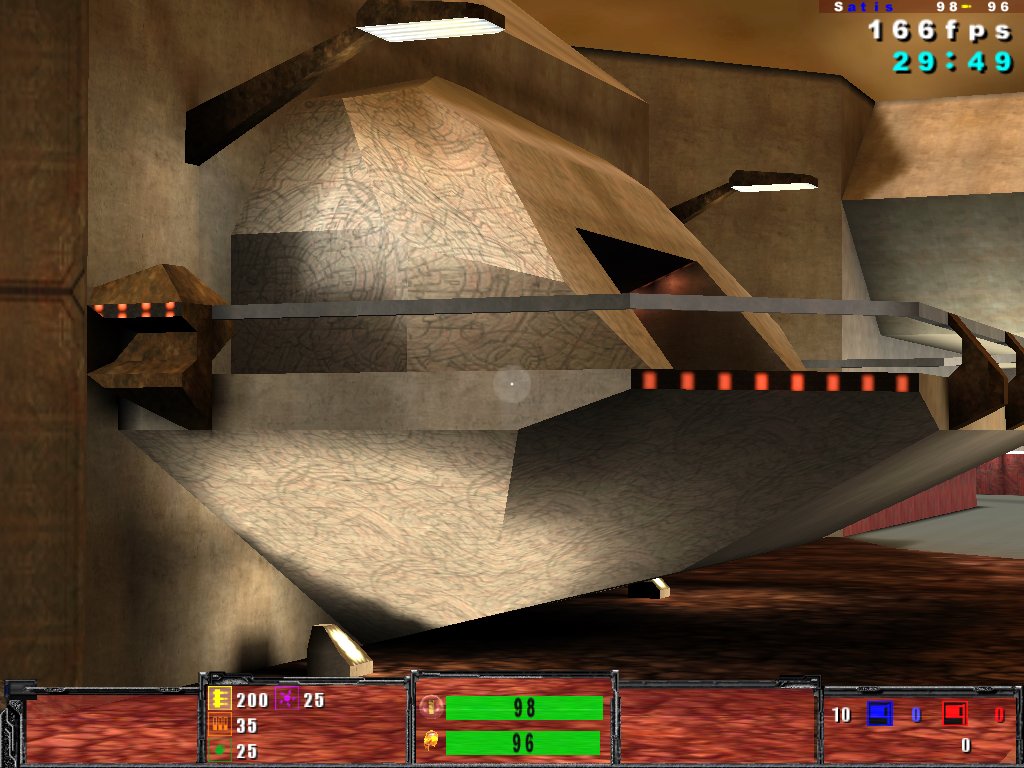
For some ingame closeups, click here and here.
With that out of the way, all that's left is to clean up the courtyard entrance to our blacony. It doesn't look quite right since it's a rather angular hole in the wall right now. I'm going to do some clipping and edging to make it look a bit more natural. First I hightlighted all our clipping brushes and just moved them off to the side, out of the way. We'll probably have to clip these eventually as well, but right now I'm more interested in an unobstructed view. Alternately, you could just hide them (view, filter, clips or Alt-7), but I prefer doing it this way.
I decided to open our entrance out a bit more. I clipped the sides and ceiling to flare out a bit when it hits the courtyard, which will hopefully make it look less contrived. I also changed up some of the textures. The end result is as follows.
Enhancing the entrance
I'm going to throw a few lights in the entrance to highlight it more, but we're done. It's only a matter of moving the clip brushes back into place. A few judicious snips and everything is the way it should be once more.
You may have noticed how compile times have skyrocketed since we added the first, rough midfield. This is due primarily to the sheer amount of space currently enclosed within our map. However, the number of brushes also is a factor. If you have a slower computer, it may be taking a considerable amount of time to compile even what we have right now. A good way of reducing this would be to go through your map, looking for extra brushes. Brushes that are, perhaps, completely caulked and completely useless, or two or more brushes that could be replaced with a single brush. Perhaps you can think of a better way to design a room using considerably fewer brushes. All of these things will decrease the size of your map and your compile times significantly. Personally, what we have takes me about 30 seconds to compile, so I'm not too concerned. I just thought I'd mention it for your edification.